How to Use AI to Generate Character Poses
AI pose generation works best when you treat it like a reference workflow, not a one-click replacement for drawing decisions. The goal is to create a clear pose image that gives you anatomy, silhouette, energy, and camera angle you can reuse in illustration, animation, comics, or concept art.
PoseGen lets you start from three inputs:
- A text prompt that describes the pose.
- A quick pose sketch from the pose editor.
- An uploaded character or reference image.
You can use one input or combine all three for more control.
1. Start with the action
Begin by naming the body action before you describe style or clothing. A pose prompt should make the movement obvious.
Weak prompt:
anime girl, cool, detailed, nice pose
Better prompt:
anime swordswoman lunging forward, left foot planted, right arm extended with sword, torso twisting, intense expression
The better prompt gives the model a body plan: foot placement, arm direction, torso motion, and expression.
2. Add camera angle and silhouette
Pose references become more useful when the camera angle is clear. Add phrases like:
- front view
- three-quarter view
- low angle
- side profile
- full body
- dynamic silhouette
Example:
full body three-quarter view of a character jumping backward, knees bent, arms wide for balance, clean silhouette, anime style
3. Use the pose editor for structure
When the body position matters, draw the rough stick-figure pose first. The sketch does not need to look polished. It only needs to show where the head, torso, arms, legs, and major joints should land.
Then add a short prompt:
athletic character matching the pose reference, sharp action line, clean anatomy, figure drawing reference
This combination usually works better than a long text-only prompt because the pose editor gives the model a spatial guide.
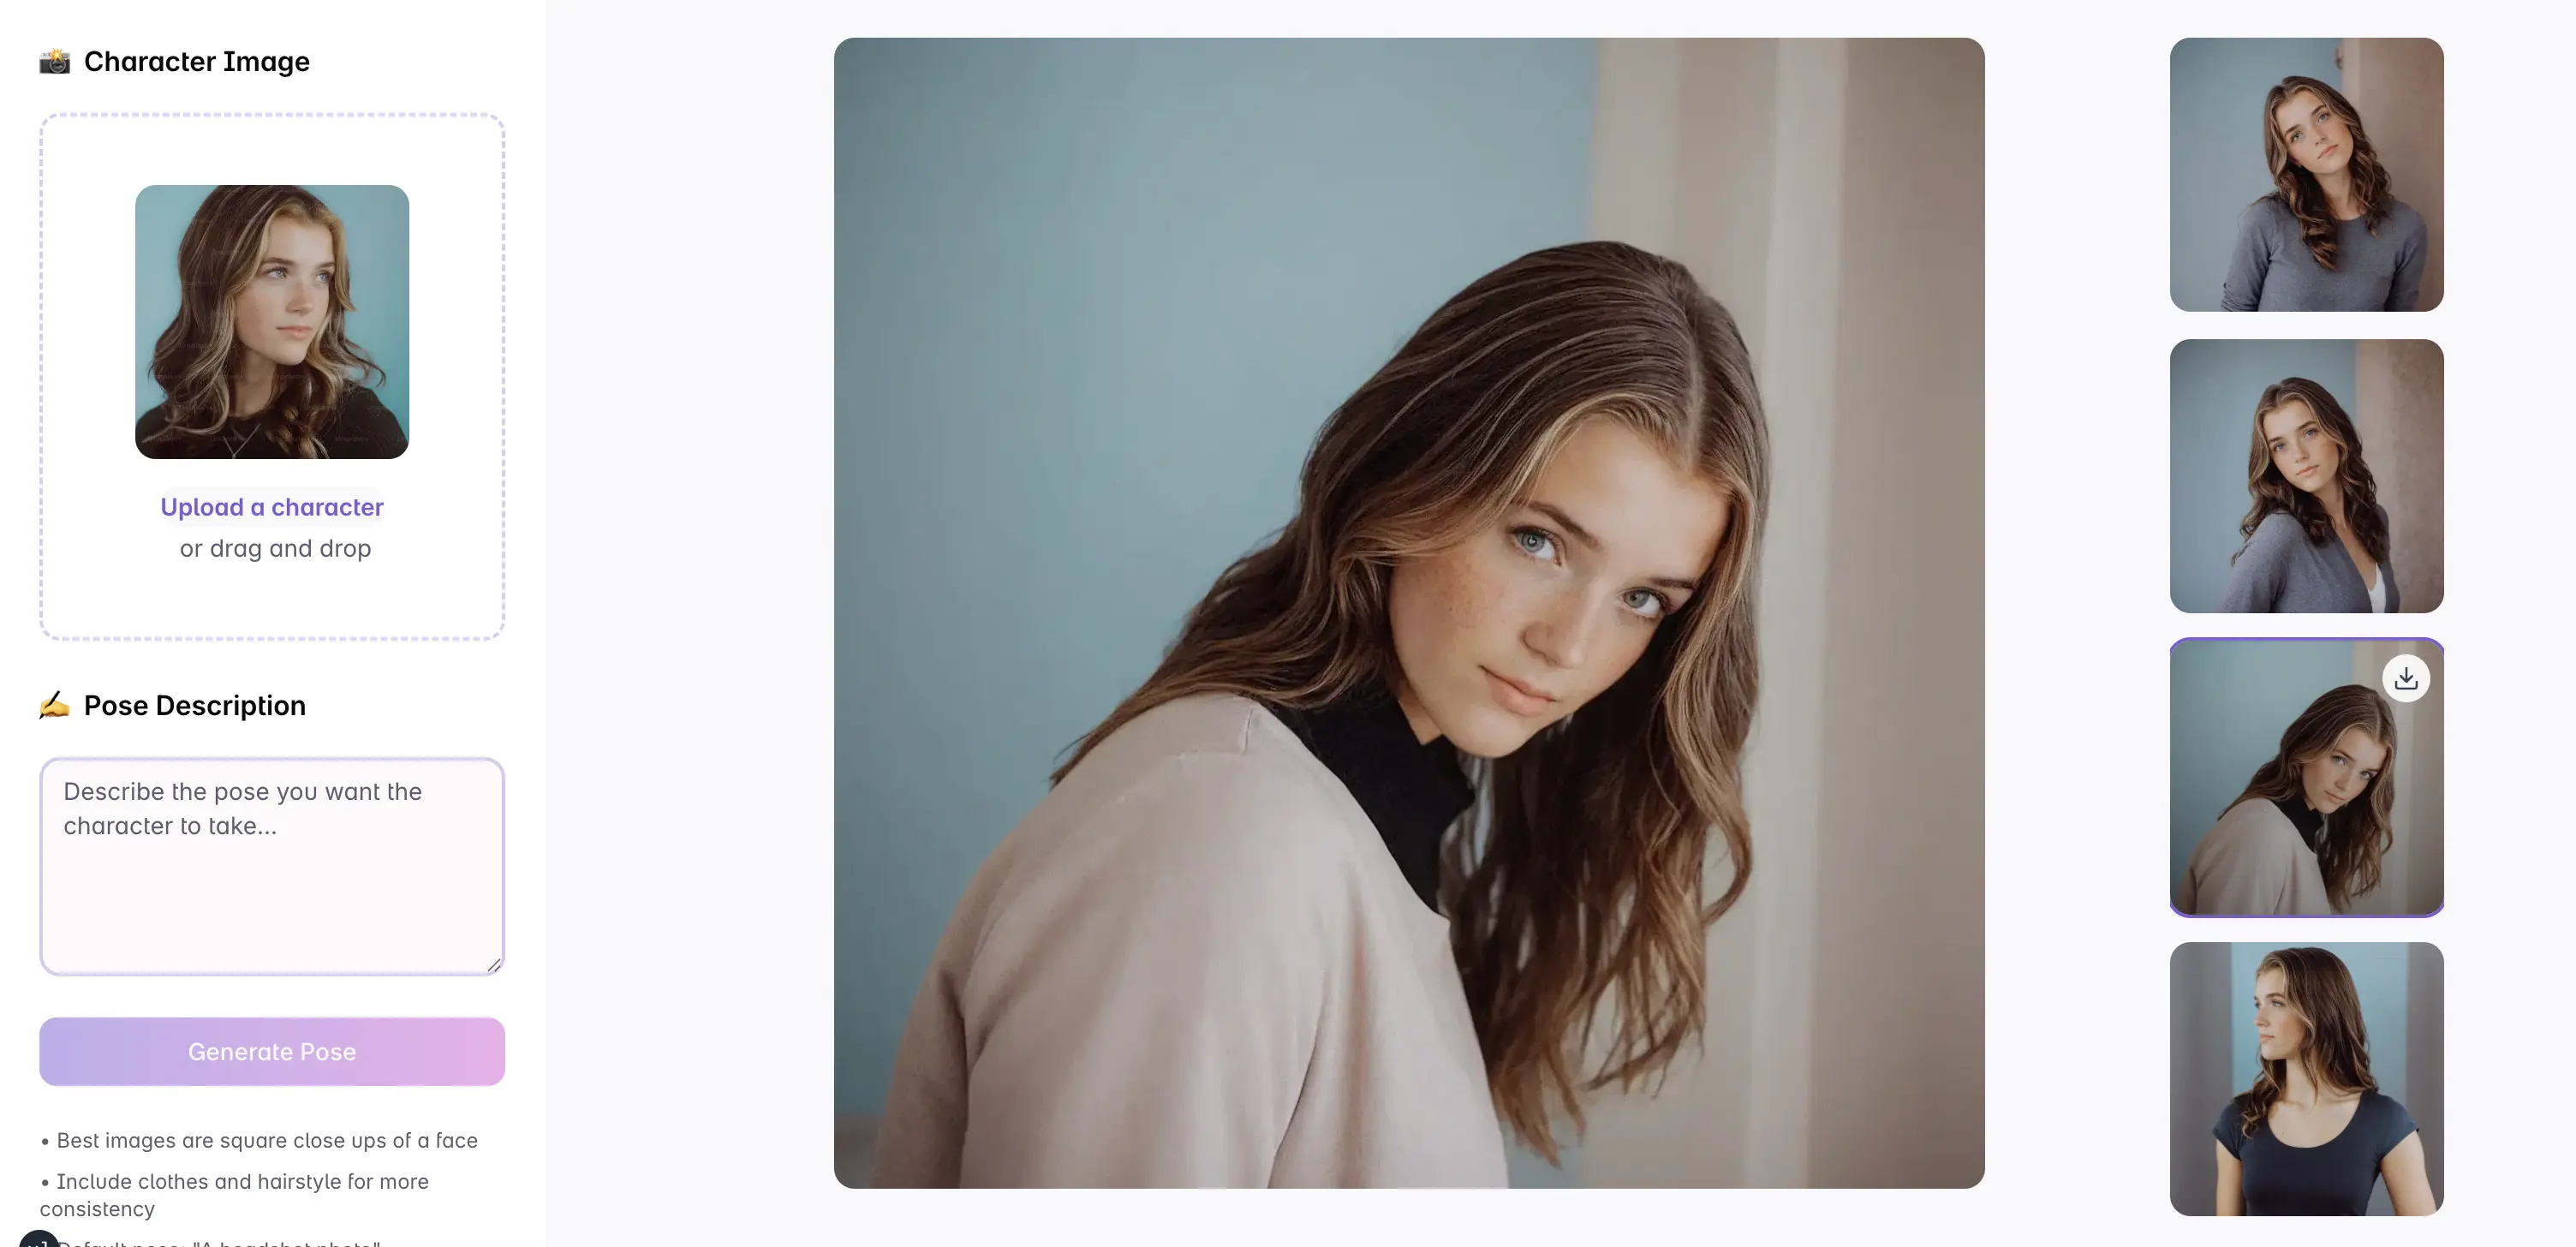
4. Upload a character reference when consistency matters
If you need the same character in a new pose, upload the character image and describe what should change. Keep the prompt focused on the pose rather than rewriting every visual detail.
Example:
keep the same character design, change the pose to a confident standing stance with one hand on the hip and the other holding a staff
For best results, use a clear image where the character is not heavily cropped.
5. Generate variations, then choose the clearest reference
The best generated image is not always the prettiest image. For drawing reference, prioritize:
- readable silhouette
- clear joint placement
- believable weight balance
- useful hands and feet
- camera angle that matches your project
If the pose is almost right, reuse the same prompt and make one targeted change.
Prompt examples
Dynamic action pose
full body action pose of a cyberpunk runner sliding under a closing door, one hand touching the floor, legs extended, low angle, dramatic motion
Calm standing pose
relaxed character standing pose, weight shifted to one leg, one hand in jacket pocket, soft three-quarter view, clean reference image
Drawing practice pose
figure drawing reference, seated character leaning forward with elbows on knees, clear anatomy, neutral lighting, full body
Anime pose
anime character mid-jump with one knee raised, arms reaching forward, strong silhouette, energetic expression, clean line-friendly reference
Common mistakes
Do not overload the prompt with unrelated style tags before the pose is clear. Avoid asking for too many actions at once, like running, jumping, turning, holding three props, and looking backward. If hands matter, use the AI Hands Maker after the main pose or describe the gesture directly.
Next steps
Start with the main AI Pose Generator, browse random pose references for prompt ideas, or use the focused PoseGen makers when you need faces, hands, anime characters, or animal references.